Expert Tips for a Perfectly Insulated Attic: The Blown-In Insulation Guide

Are you daydreaming about how to achieve peak attic performance?  With blown-in insulation, you can achieve awesome gains without hitting the gym – in the most important place to insulation.


Read on to learn the steps for inspection, so you know what to look for or have a contractor look for in your own attic. Then, whether you decide to DIY or hire out, you can know how to prepare and get the job done right, so you can have a cozy and affordable home to heat and cool that is comfortable year-round.


The Inspection


A professional should be willing to come out and give you a free inspection and estimate for adding blown-in insulation. You can also inspect your attic yourself. You’ll want a flashlight for the job. This DIY attic inspection checklist can help guide you through the process of inspecting your attic, ensuring that you don’t miss any important details.

First, Cover All Your Bases

1. Get supplies ready to go. Grab a ladder, bring a flashlight, respirator, and measuring tape.


2. Find your footing. This is probably self-explanatory but I’m going to say it anyways. Obviously you won’t want to walk on the sheetrock that makes up your ceiling – it will not support your weight. You need to walk on the wooden trusses. Take your time, do not rush it, and be extra cautious when you are walking up and down inclines. Be sure the trusses are solid, if you see signs of significant damage or rot in the structure it’s best to pause and call in somebody.


3. Check for asbestos. Remember that asbestos was used for most of the 1900s all the way through the 1980s. It is typically a metallic, rocky-looking substance that can be blown in. Other common types of insulation are fiberglass and cellulose paper. Take a picture of your insulation and search around for it online until you come across the right one. And if you have asbestos – don’t take on the task yourself. Call in a pro for remediation.


Now that we’ve covered the basics, if you feel safe about your setup, you can move on to checking your attic’s functionality:


Inspect the insulation Check the insulation in your attic to make sure it’s in good condition. Look for any signs of damage, such as holes or tears if it is batt, and make sure it’s not compressed or missing in areas. Use your trusty measuring tape to approximate how many inches of insulation you have starting from the drywall to the top of the insulation. This will help you approximate the R-value of your current insulation.


Check for unplanned thermal bypasses: You can lose over 30% of your heating and cooling values from air gaps that allow heat to flow freely into the attic. These gaps need to be sealed up with polyurethane foam or caulk to prevent air leakage, and allow your insulation to do its job.


Check for proper ventilation: Proper ventilation is essential for preventing moisture buildup, which can lead to mold and mildew growth. Look for vents in the soffits, gables, and roof. Make sure the vents are not blocked by debris or insulation.


Check for water leaks: Look for water stains or signs of water damage on the ceiling, walls, and floors. Also, check for any signs of mold or mildew. If you notice any leaks, it’s important to address them as soon as possible to prevent further damage. Insulation should not be added until the roof is completely dry and in good condition.

Preparing for the Job

First, you’ll want to calculate the amount of insulation that you have on your attic floor. A rough approximation will work fine for most jobs; 6 inches of blown in cellulose insulation is generally around R-19. That means 12 inches is R-38, and 18 or 19 inches is approx R60. This should give you an idea what you have currently. In Zone 4, the IECC recommends between R38 and R60 insulation. You can check your Insulation Zone with Energy Star here.


If you only have R-19 insulation currently, and you want to be at R-60, for example, you will want to add over 12 inches of insulation on top of the insulation you have currently.


Completing the Job

Remember, this is not a complete list but a general walkthrough. Make sure you do additional research. Blown-in insulation can be relatively straightforward, but you need to know what you’re looking at up there. Keep in mind it can also create new hazards in the home if you have recessed lights, stove pipes or the like.


Besides falling through the ceiling, improperly insulating the place can also cause a house fire. And if you’re uncomfortable with it, you can always call in a pro.
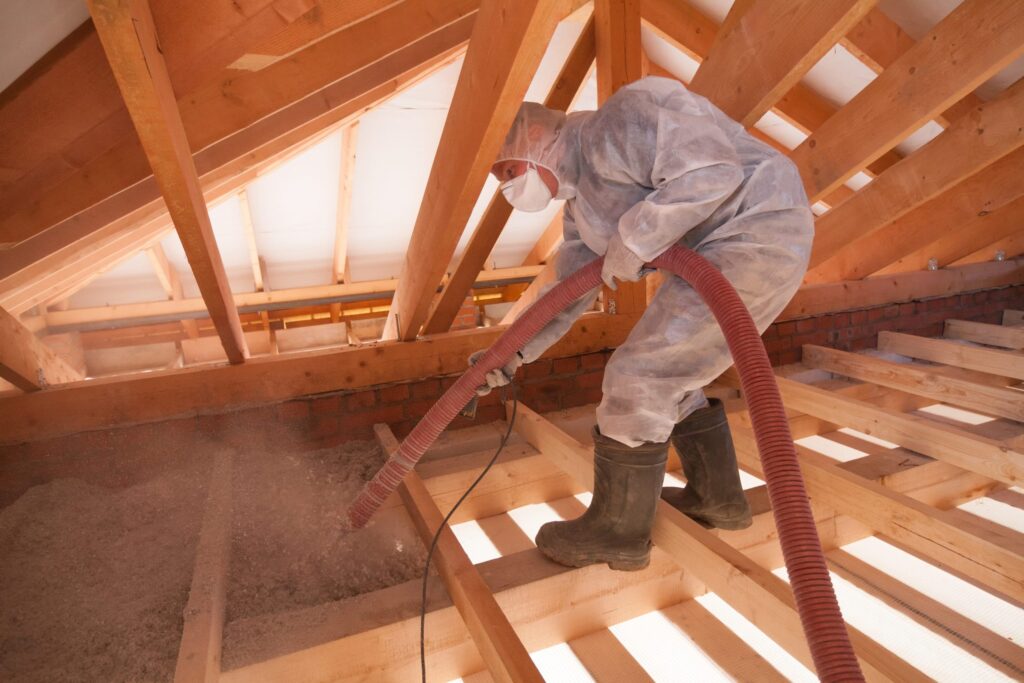
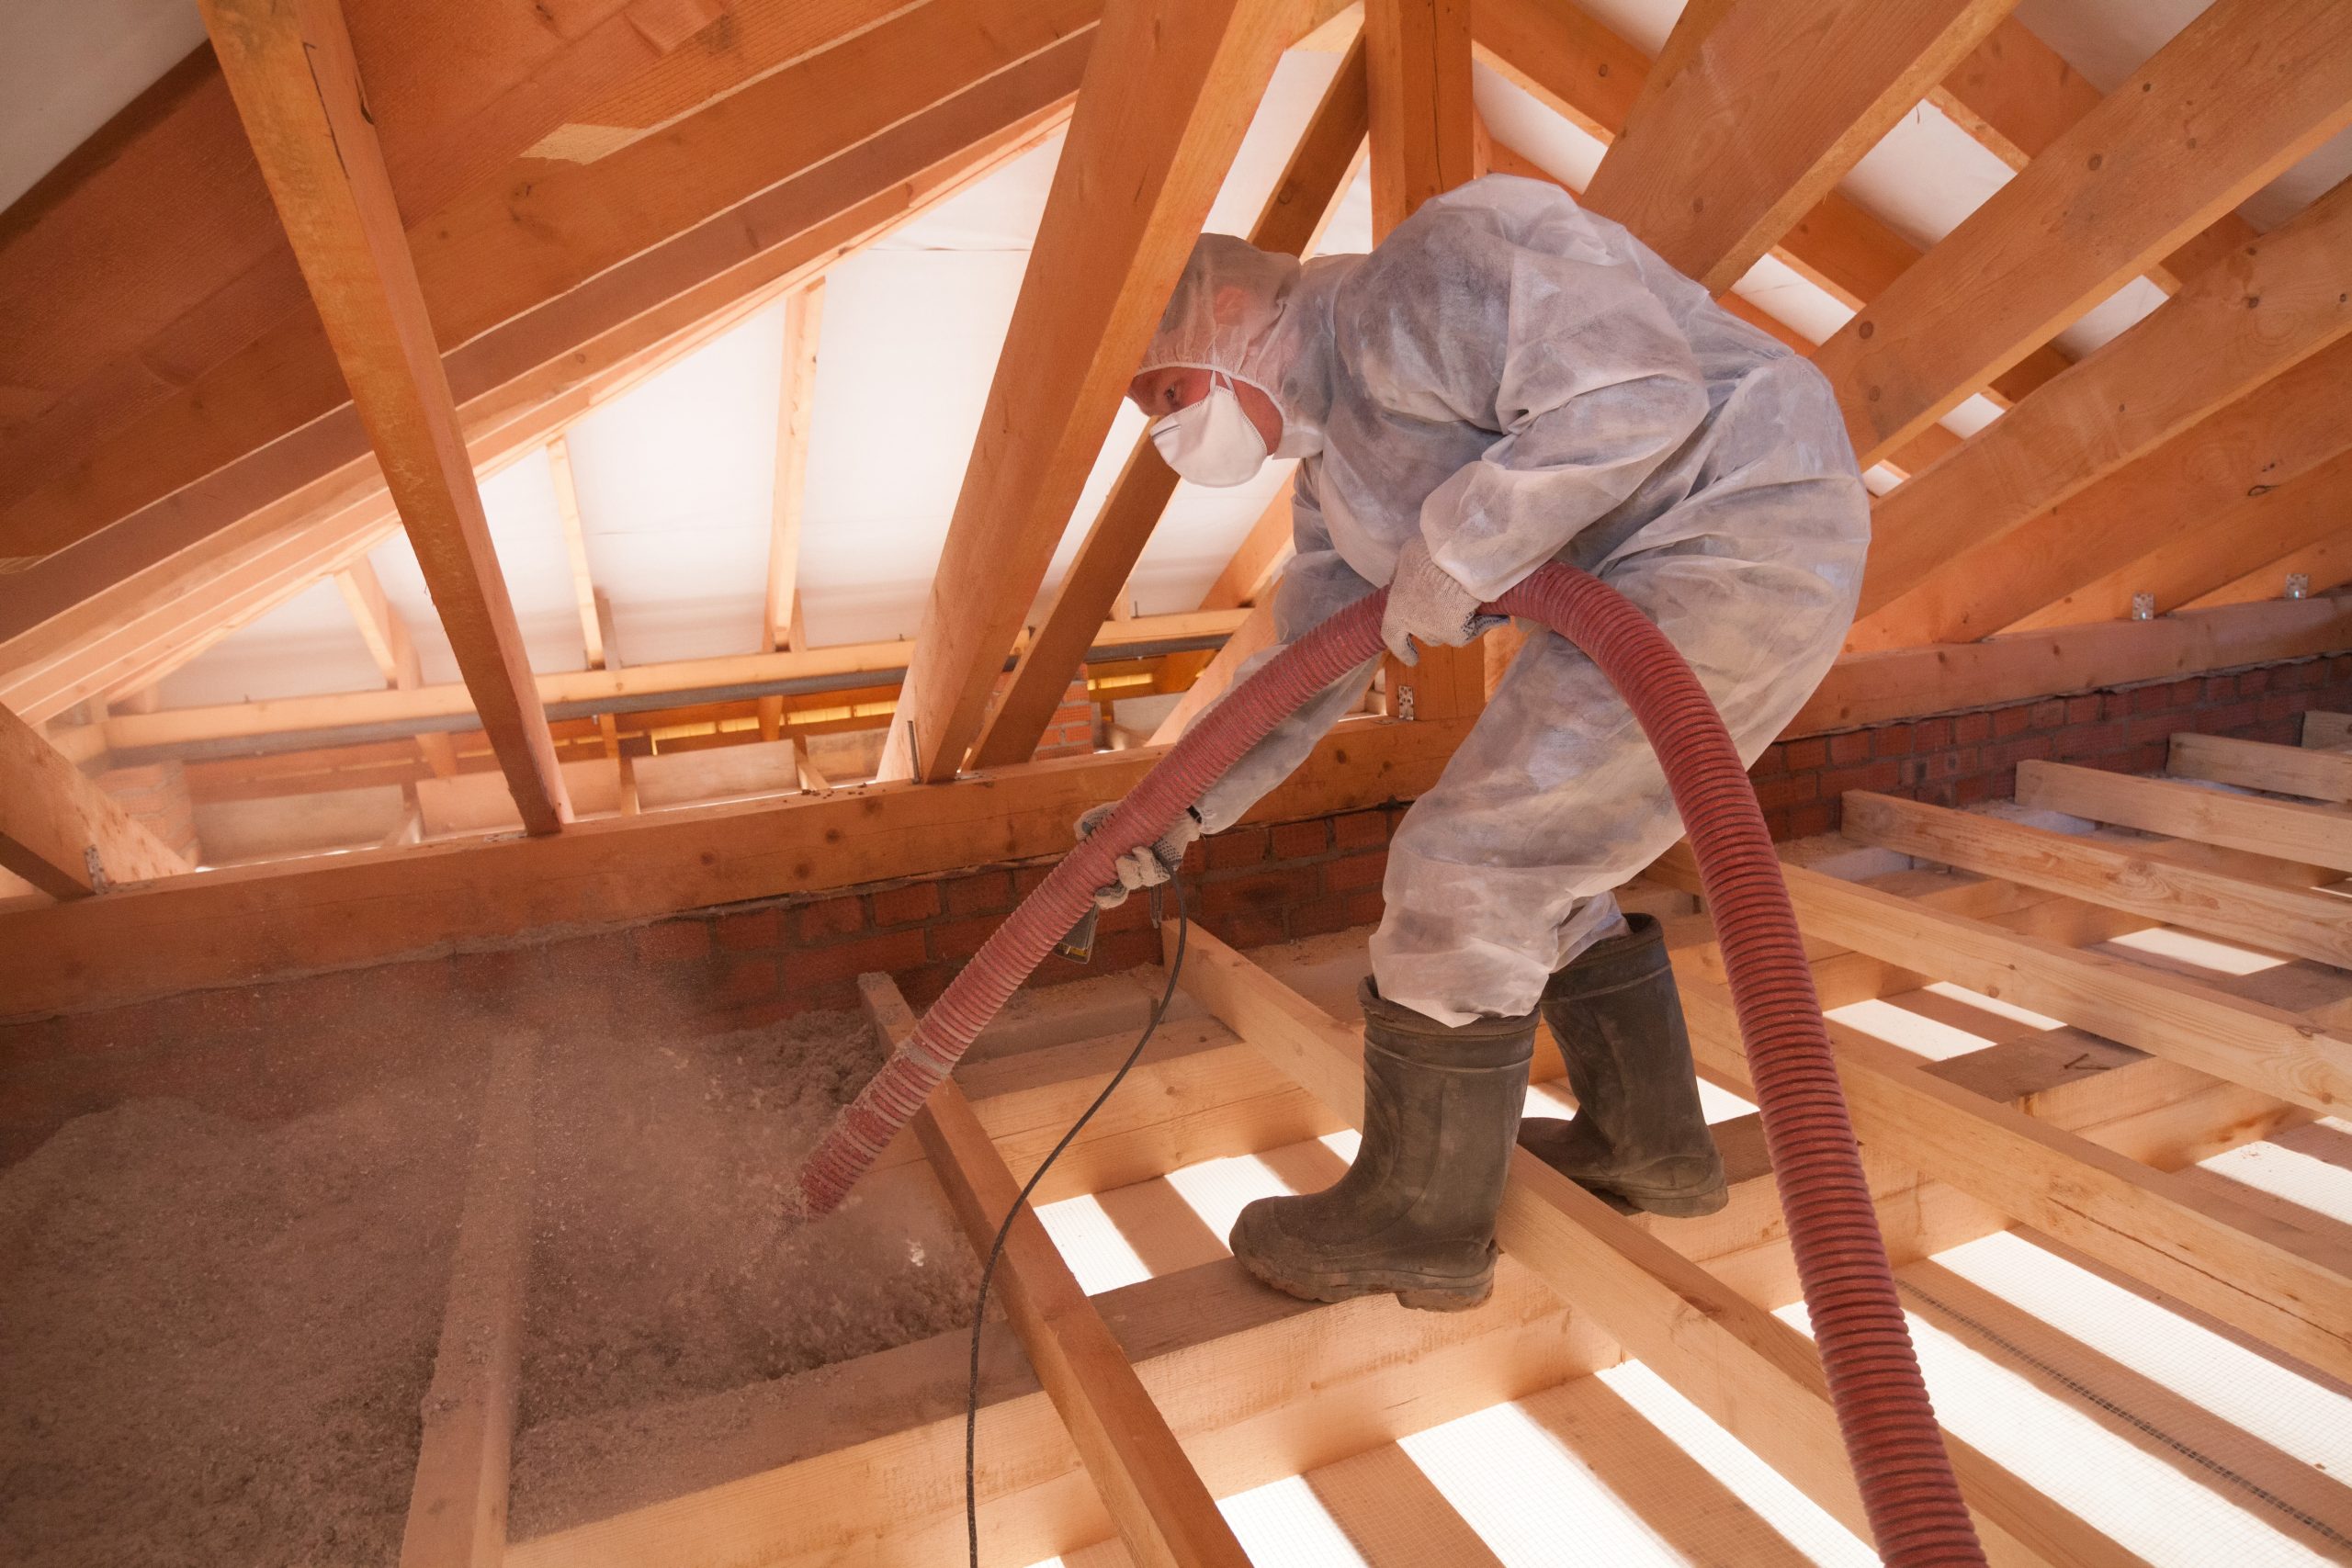
It’s always a good idea to don a respirator, eye protection, and a Tyvek suit for working in the attic. Existing insulation can release fireproofing chemicals including boric acid which can irritate your lungs, airways and eyes, not to mention microscopic fiberglass shards.


Step 1: Remove Damaged Insulation. First, it’s important to clear out the attic space. Remove any items you have stored there, as well as debris, damaged insulation and any other materials that may be in the way. This will make it easier to work in the space and ensure that the new insulation is installed properly. It is OK to leave dated insulation there that is in good condition. In fact, some types of insulation can last up to 100 years if kept dry.


Step 2: Once the old insulation has been removed, it’s important to thoroughly clean the attic. This includes removing any debris, such as cobwebs and dust, as well as any other materials that may have accumulated over time. A broom and dustpan can be used to remove debris, while a damp cloth or mop can be used to clean the attic floor.


Step 3: Get repairs done beforehand! Use polyurethane foam and caulk to seal any unplanned thermal bypasses around duct work, pipes, and more. Take care to note any recessed lights, furnace or stove flues, chimneys, or pipes which are protruding from wood stoves, high heat sources or the like. If you’re using cellulose you’ll need to construct barriers around these devices. Do not add insulation that will catch on fire.

Step 4: This would be a reasonable time to get the equipment and go. Blower rentals are available, or call in your pro if you can find a reasonable rate. Work slowly and safely with a partner who can load bags of insulation. Take care to find your footing. The blower hose has controls on the end which allow you to start and stop the machine from up in the attic. Blower hoses are long and can travel with you, just take care not to get them tangled around obstacles.


Important note: Watch for eaves and soffits. Keep in mind that the insulation can block airflow through your soffits. This can cause your soffits to “sweat”, trap hot air and lead to wood rot and mold. To avoid this, you might consider installing ventilation baffles, such as plastic or foam vents, into the eaves. This can be done by pulling back the existing insulation from the roof, positioning the new vent chute so the bottom extends six inches into the overhang, and stapling it into place. By taking these steps, you can ensure that the airflow through the eaves remains unobstructed and avoid the potential issues of wood rot and mold.

In Conclusion

In conclusion, blown-in insulation is a popular and effective option for insulating attics. By following the steps for inspection, preparation and completion, homeowners can ensure that their attic is properly insulated for a comfortable and energy-efficient home. It is important to note that proper ventilation, sealing thermal bypasses and addressing any water leaks are crucial steps in the process.

Remember to take the necessary precautions when working in the attic and to seek professional help if needed. Insulating your attic can lead to significant energy savings, improved air quality and overall comfort in your home. Now that you have a better understanding of how to insulate your attic with blown-in insulation, you can make an informed decision on whether this is a DIY project or if you need to hire a professional.

And if you’re looking for a qualified professional in Missouri, give The Foundation Guys a call. We have reasonable rates and would love to help make your next project a piece of cake.  Check out our insulation services below.

Why Choose Us

Warranty

All of our systems are backed by a worry-free warranty.

Best Installers

Our installation team has the experience, smarts and credentials to do it right the first time.

Insured

When you're transforming your home, you need to know your protected.

Free Inspection

With a free inspection, you can get to the root cause without uprooting your finances.

We do attic insulation

We're the local business you can trust to cover your whole attic when you need it, and give you the peace of mind when you don't.

Seal Unplanned Thermal Bypasses

Seal thermal bypasses in the attic portion of a thermal envelope help to prevent warm air inside the house from escaping into the attic. This helps to maintain the desired temperature inside the house and improve energy efficiency.

Blown-in Insulation

Insulation on the attic floors plays the most important role in the whole home, and is where the most insulation is needed. Adding insulation can help to improve energy efficiency, reduce heating and cooling costs, and increase your home's overall comfort.

Radiant Barrier Insulation

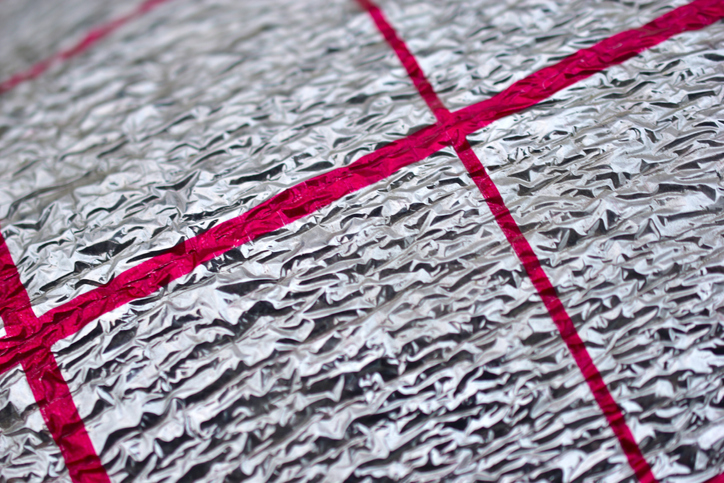
The space stations use mylar for its durability, toughness and light weight effectiveness. Applied correctly and in combo with other systems, radiant barrier has loads of untapped potential.

Foam Board Insulation

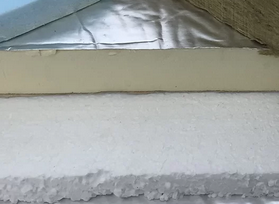
Rigid foam board insulation is a great choice for moisture-rich or specialty applications. Consider rigid foam board in special cases, or where you need a secure fit.

Schedule Your Free Inspection

With us you can get your project underway starting now.